Let the Image Concept Drive the Editing
If you have taken one of my photo classes, you have likely heard me explain that every photograph should have a purpose. It’s not just about capturing a landscape scene, a portrait, an event, or an animal in the wild. Memorable images tell a story, express a mood or emotion, or make a statement.
Ansel Adams purportedly said, “There is nothing worse than a sharp image of a fuzzy concept.” This is precisely my point. Give it some thought. Identify a photo concept or idea before you pull out the gear. Consciously compose your image. Embed your experience into the photo. This is part one of the creative process.
Part two is where the magic happens—image editing. This is your chance to add your personal imprint and bring your vision to life. Whether you restrain your edits to objective changes only or subjectively edit to match your vision of the experience, have a plan and a vision before you start the editing process. Don’t just edit until it looks good! Embrace the power of editing to transform your photos into masterpieces that reflect your unique style and perspective.
Here is how I approach the editing process. First and foremost, I recount the field experience or my capture notes. These observations are the inspiration for my edits. For example, in the image below, I watched the fog moving in and out of a dense coastal forest from a high vantage point. The scene was quiet, intimate, and peaceful. I composed the photo using a long lens with a tight crop. The frame excluded the sky, foreground, and other potential distractions. I softened the image while editing, creating an almost mystic atmosphere. The final result mirrored my experience and my mood.
Siuslaw National Forest 1810125LND800, 2018, Siuslaw National Forest, Oregon Coast near Cape Perpetua, Oregon, USA.
Here is another example of editing for impact and expression.
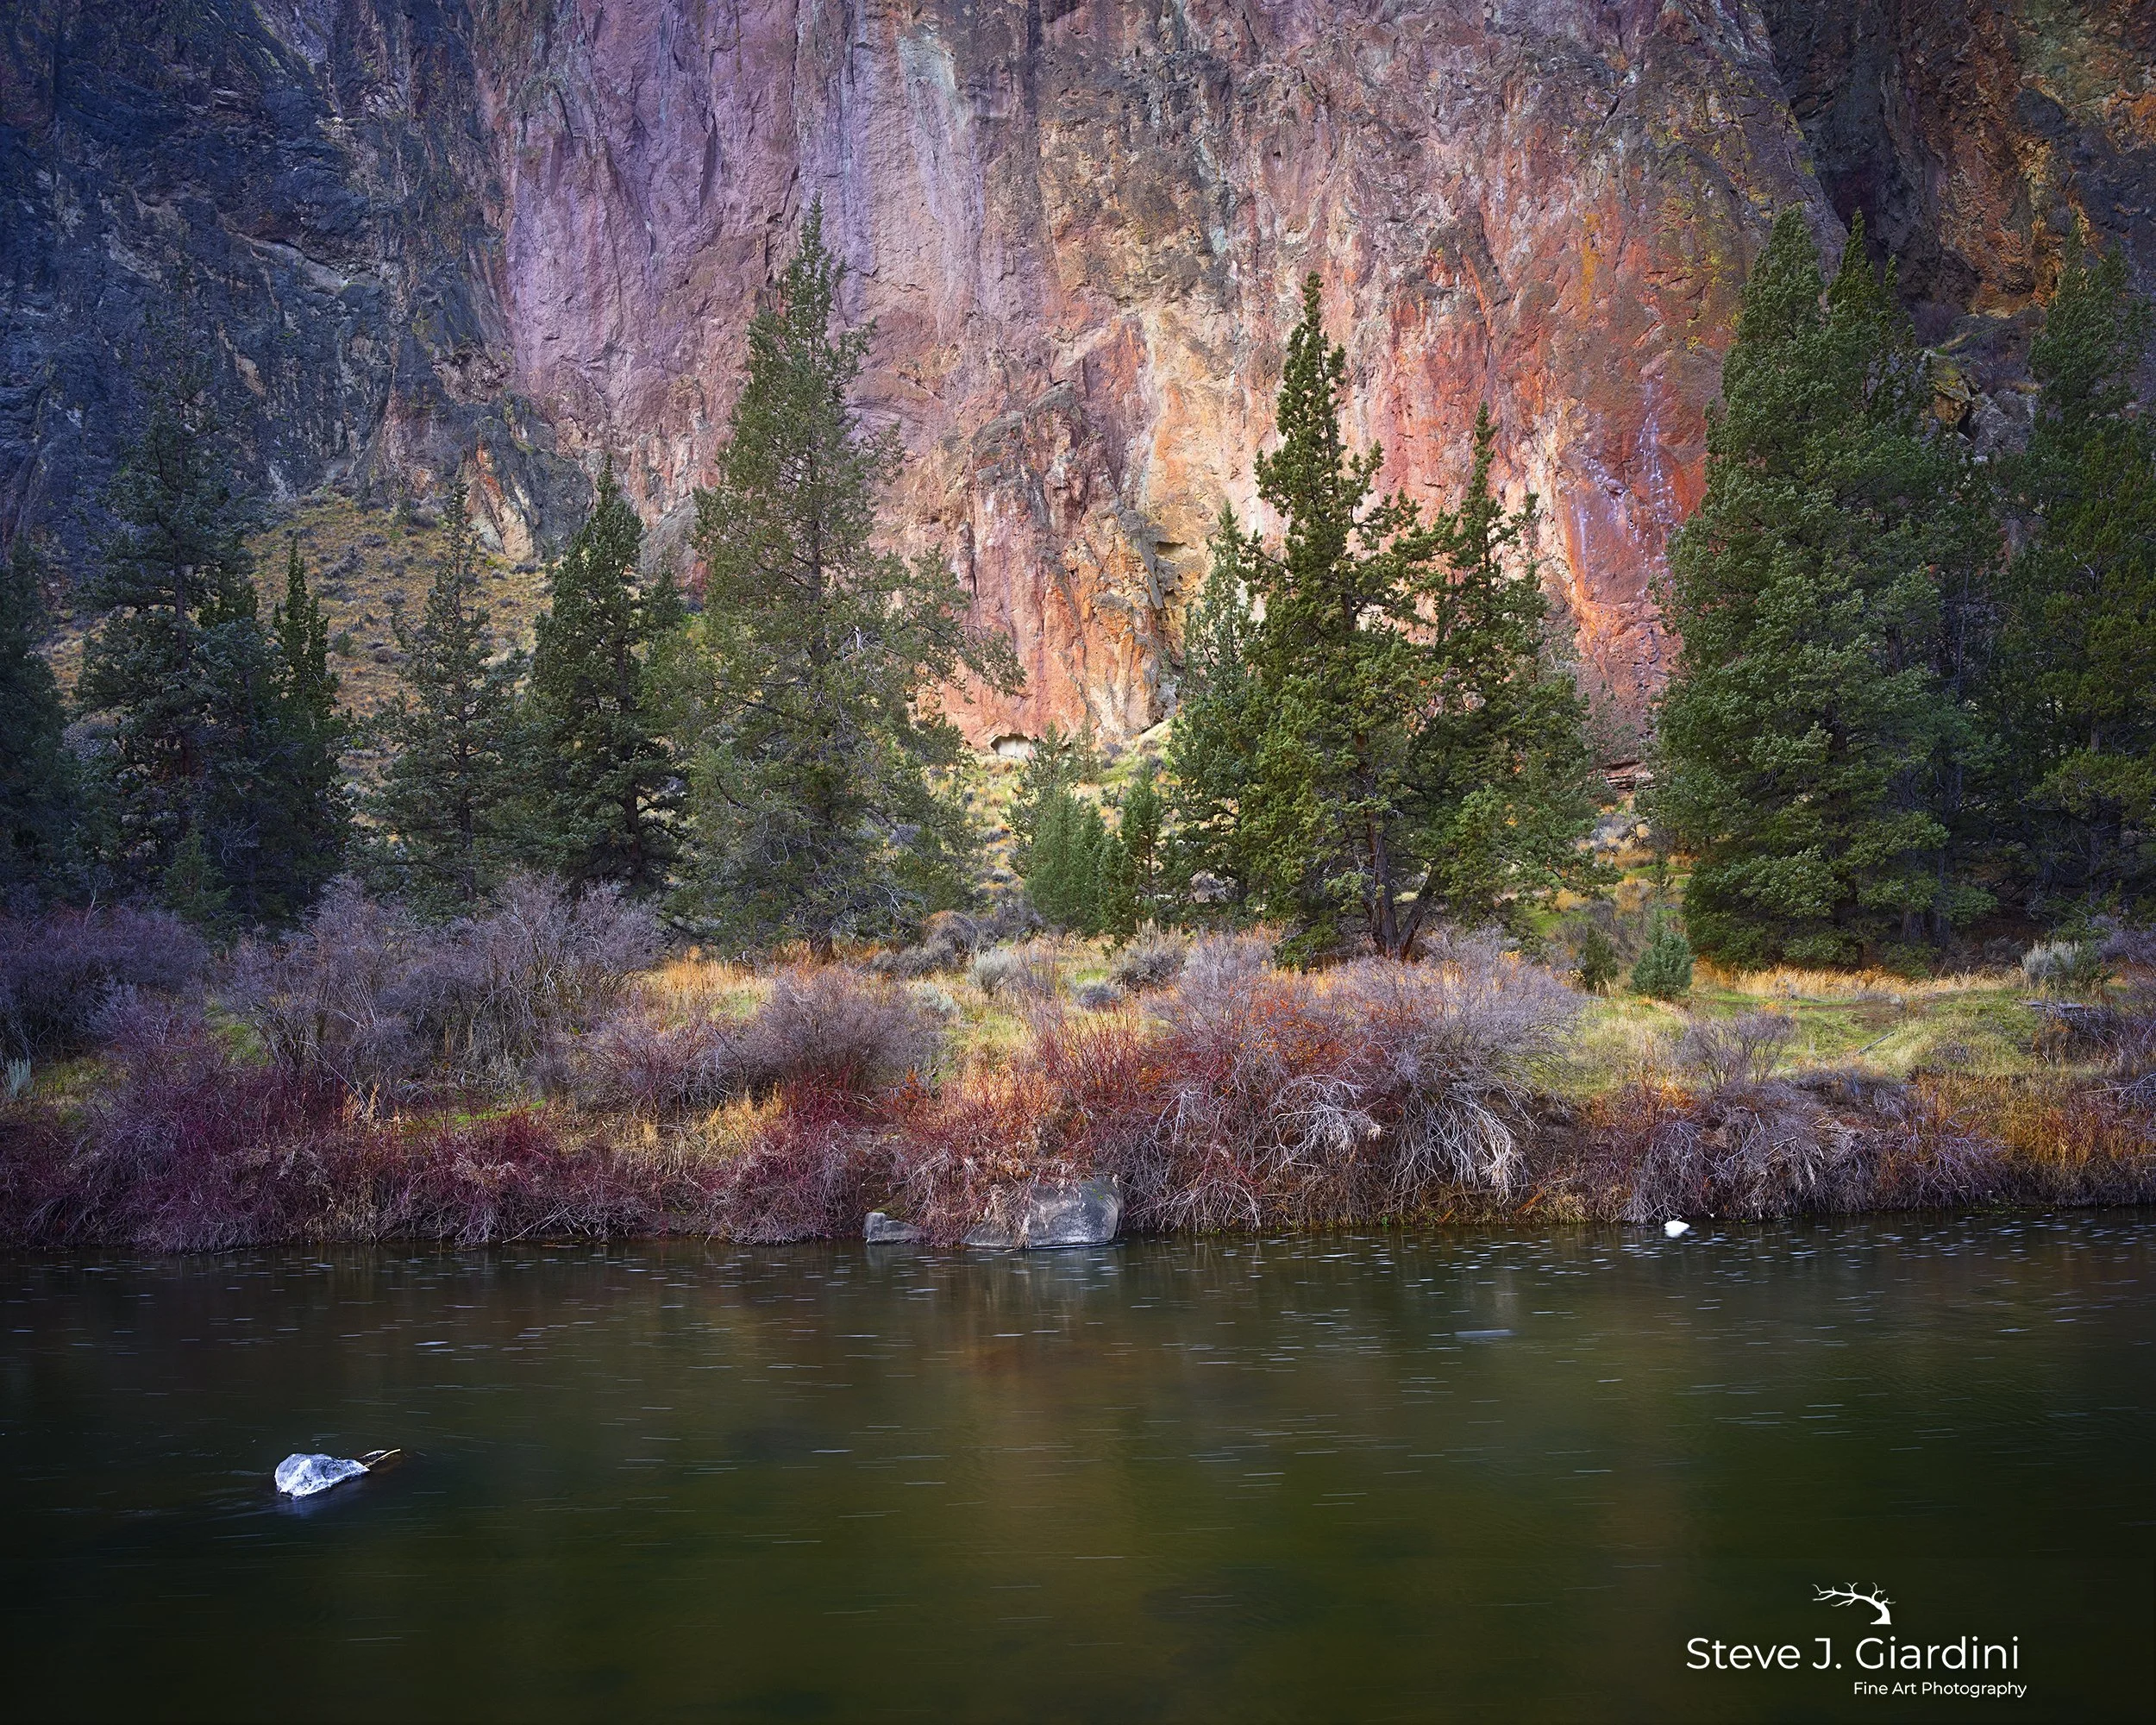
The image below is one of several Smith Rock State Park photos I plan to group as a print collective or book project. This project is about more than just showcasing the park's typical iconic views. I also aim to showcase its more intimate side. The goal is to create a diverse portfolio that will inspire visitors to discover the hidden gems and unique perspectives that make this place special.
Pause For A Moment 24005NWHX2DC_5x4, 2024, Smith Rock State, Terrebonne, Oregon, USA.
I walked along the Crooked River near Phoenix Buttress one morning at sunrise. The soft winter light broke above the ridge behind me, accentuating the rock wall's colors. The magentas, blues, and purple contrasted well with the green of the junipers. Then I noticed the autumn flotsam moving with the water downstream. The dark foreground was interspersed with white flotsam. The light rock wall colors are also reflected in the dark water, adding another dimension.
I visualized the final print as a soft, intimate scene worth pausing to appreciate. I was ready to put on my technical hat and capture the experience.
Two things quickly became priorities: a full depth of field and a slow shutter speed. I composed the scene using a lens focal length that excluded the sky, which would make the scene more personal and intimate. The distance from the standing spot to the opposite side of the river was insignificant. I used my Hasselblad X2D medium-format camera with a 28mm (22mm 35 equivalent) f/4 lens in manual exposure mode. My light meter was set to center-weighted. I manually focused on the trees.
At an aperture of f/11 and an ISO of 64, my shutter speed was 0.8 seconds, slow enough to streak the flotsam. I used an almost square 5:4 aspect ratio format. Given the narrow dynamic range, this was a pretty easy capture.
I positioned the shoreline below the typical mid-point horizon line. This provided enough dark foreground for the reflection and enough top-of-frame headroom for the Juniper trees. It felt balance to me.
The center of the RAW file was slightly brighter than the rest of the image. I choose to exploit this phenomenon during editing. I used the darker top left and right rock wall areas to help create a natural vignette. In post-processing, I modestly exaggerate the vignetting.
The starting histogram was weighted slightly to the left, with darker mid-tones compared to highlights. The histogram indicated that detail was present in all shadow and highlight areas.
There are nine Photoshop editing layers. Sharing the steps doesn’t make sense, as you would likely take a different editing approach. Instead, appreciate that I began with a field idea and vision and carried that concept to the final file.
The point of this blog is simply to encourage you to be deliberate. See the story, feel the emotion, experience the moment. Then, deploy the technology. Then, make the best exposure possible and edit the image to match your intention.
Cheers
Steve
Giardini Photography offers;
College Classes,
One-to-one learning opportunities,
Small group workshops and
Coaching and mentoring services.
Visit our workshop webpage to learn more.


